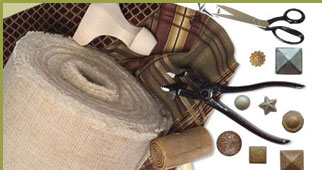
How To Make A Cornice Board
| Face board I suggest 1/2" plywood | Measure the exact height and width you want the face of the Cornice to be |
| Cut height and width before you cut your pattern | Cut a piece paper the same width as your Cornice face. then fold in Half. (we used 11"skirt stiffener) |
| for this pattern mark the center of the folded paper | Then using your center draw your pattern |
| Cut out your pattern | unfold your paper you should have two sides that match |
| Lay out your pattern on your face board | Staple your pattern to you face board |
| Cut out your pattern | Should look like this when finished |
| Now its time to cut the side and top rails | we used 1x6" white board |
| staple or nail your white board into place | Should look like this when finished |
| Front should look like this when finished | back should look like this when finished |
| And batting we used 3/4" Dacron | Should look like this when finished |
Lay out your fabric and staple all your center first |
V-Cut your pattern cut outs |
| one more look | Line the back with lining dark for dark color fabric and so on (dust cover or drapery lining will work) |
| Should look like this when finished |
DIY Upholstery Supply is not responsible for ads posted on our website.
Need More Information? Call Us Toll Free: 662 280 0020
OR,
Submit Inquiries: Ask The Experts


